
For years I had the desire to make my own natural soap. A natural soapbar to wash your hair or a soapbar to use in the shower. Finaly Werfzeep (a dutch company who makes natural soapbars) made last year a soap book and my dreams & wishes seemed to be fulfilled. Immediately I ordered the soap book including a starter package. When the soap book was finished I immediately received it home with my starter pack, but I did not start immediately. I was busy with my work and the natural hair treatments, so the starter pack was left untouched for quit some time. Until a few weeks ago! You know, corona happend and finally I had some time and enough courage to make my first soapbar. The night before I wanted to start, I had already written down some ideas and the next day I immediately started working. I made my first soapbar with Neem, Thyme, Nettle extract and Broccoli seed oil. Making my own soap was so much fun! I loved it! The whole process was a bit new to me, but I really liked it. Especially when my soap was in the mold and I had to put it away for a day. Because I would like to share my enthusiasm with you, I will share the recipe below. This is a soapbar to wash your hair, but also to use in the shower or washing your hands. The ingredients are really good against irritated or troubled (scalp) skin, flakes or dandruff, eczema or psoriasis and they nourish & moisturize your hair.
A natural soapbar is made with oil (organic is best), sodium hydroxide (lye) and water. Sodium hydroxide? Yes! You need this to saponify the oils. Then, after this, the soap should rest for 4 to 6 weeks (cut in pieces and put in a cold and dry environment). During this resting period the sodium hydroxide will pull out of the soap. If the soap is properly made, and the proportions are correct, the end product no longer contain sodium hydroxide. If you make your own natural soaps, you can really get your creativity going. You can vary enormously and make your own composition. BUT you do have to pay attention to the saponification value of the oil and the amount of sodium hydroxide and the water you need. Werfzeep.nl (the dutch company) has a soap calculator that you can use, but it does not contain all types of oils that are available. If you want to know the saponification value (SAP value) of your oil type, you can just google it or look in this list. You then need the saponification value of the naOH. Below I described the saponification value that werfzeep.nl maintains with their different oils. If your oil is not listed, you can look at the saponification value of the oil you want to use and to which oil you can compare it or is close to this saponification value. You can find the soap calculator of werfzeep.nl here.
- Almond oil: 0.137
- Avocado oil: 0.132
- Borage oil: 0.130
- Cocoa butter: 0.136
- Caster oil: 0.127
- Jojoba oil: 0.065
- Shea Butter (Shea): 0.126
- Coconut oil: 0.184
- Neem oil: 0.134
- Olive oil: 0.133
- Rosehip oil: 0.133
- Walnut oil: 0.136
- Sunflower oil: 0.134
The Character
When you use a natural soap, you expect it to foam nicely, right? This does not necessarily have to be the case. Think, for example, of aleppo soap. Aleppo soap consists entirely or largely of pure olive oil. Olive oil creates a hard soap, but it doesn’t give you a nice foam. Every oil has its own character. Before you get started, it is good to think about some things, like: Which oil do I want to use? And what is the character of this oil? Does it foam or not? Or does this oil provide a hard soap? It is a good idea to use a combination of these two characters. Use some oils that provide a hard soap and oils that will give you a nice foam. On this site you can read the characters of different oils.
When you are going to make a natural soapbar yourself, you need a number of materials:
- A scale
- One large stainless steel pan
- 2 glass measuring cups, a large 500 ml and a small 50 ml (an old apple sauce or jam jars will also work fine)
- A small glass
- Silicone spatula
- Whisk
- Blender
- Silicone soap mold or baking tin with baking paper
- Thermometer
- Large rubber gloves
- Glasses (fireworks goggles, for example, to protect your eyes)
- Towel or blanket
- All the ingredients for the soap (the different oils and the sodium hydroxide)
For my first soap I used the following ingredients:
- 450 grams of organic olive oil
- 335 grams of organic coconut oil
- 100 grams of organic cocoa flakes
- 129 grams of sodium hydroxide (lye) crystals
- 230 grams of nettle extract or nettle tea
- 15 grams of organic broccoli seed oil
- 20 grams of rose water
- 22 grams of organic neem powder
- 10 grams of essential thyme oil
- 2 tablespoons of thyme honey
“Make your own nettle extract by soaking 40 grams of nettle tops from young nettles in 120 grams of water. Keep this in a jam jar and put it away for 12 hours. “
The description below comes largely out of the Soap Book of Werfzeep. The recipe is my own, but werfzeep gets all the credits for describing and explaining how to make your own natural soapbar. I have slightly changed the step-by-step guide of werfzeep because, during the proces I noticed that I prefer a different order than what they indicate. This is due to the heating of the oils and the temperature of the lye solution. This means you have less “waiting time” and your soap is done earlier.
A small tip beforehand: It is wise to weigh and prepare first all the oils and products that you want to use. This way you don’t have any stress or forget an ingredient. It is also wise, if you use nettle tea instead of nettle extract, to make it first and then let it cool. The whole thing gets really hot again when you add the sodium hydroxide. This is also the reason that I first start with the lye solution instead of heating the oils.
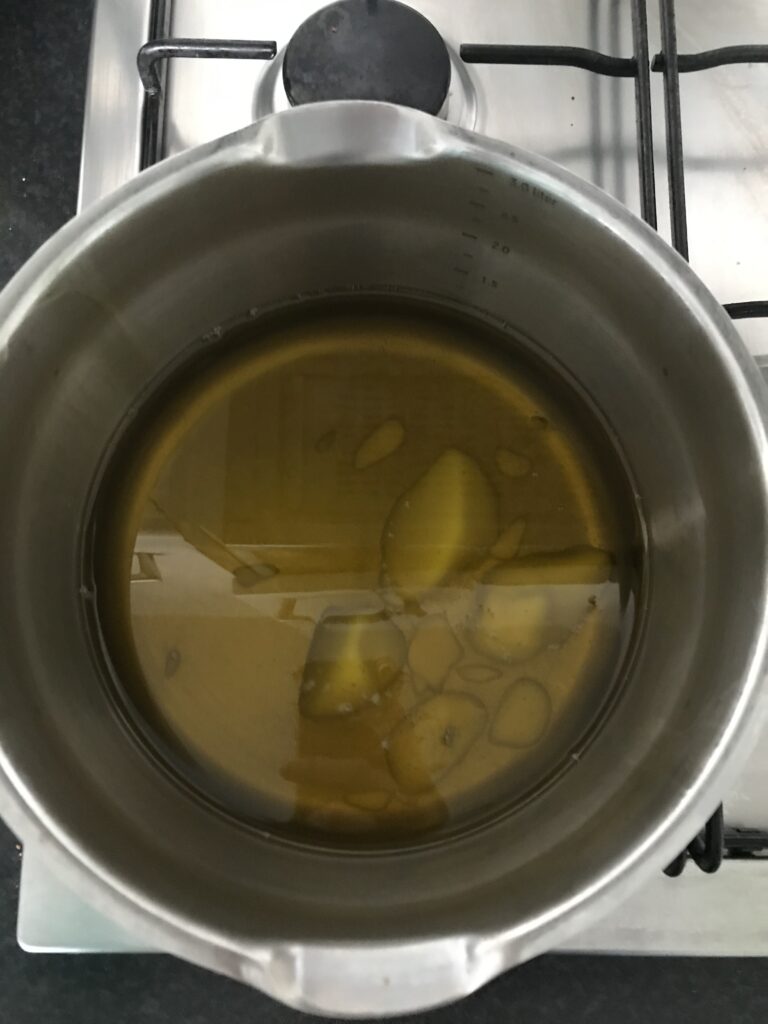
Step 1: The base oils
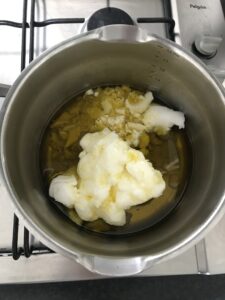
Weigh all the base oils in one pan, starting with the hard oils: 335 grams of coconut oil and 100 grams of cocoa flakes. Then add 450 grams of olive oil and 15 grams of broccoli seed oil. Be as accurate as possible. Do not heat the oils yet! Leave it and start with the lye solution first.
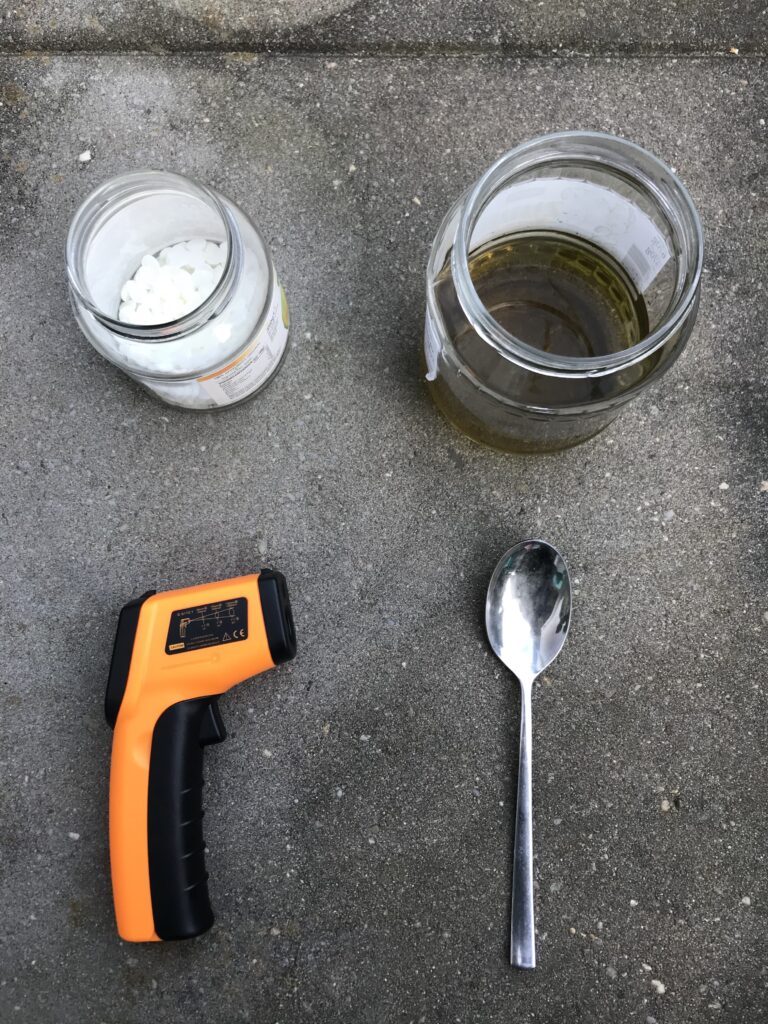
Step 2: the lye solution
- Put the 130 grams of nettle extract or cooled nettle tea and 20 grams of rose water together in the 500 ml glass measuring cup.
- From this point on, make sure you really have your gloves on and your protected glasses on.
- Weigh 129 grams of sodium hydroxide (lye) crystals into the small glass measuring cup.
- Now, under the hood or outside in the garden or on your balcony, add the crystals to the extract / tea and the rose water. Always add the crystals to the tea / extract and not the other way around!
- Stir the crystals directly with a spoon, using a gentle eight motion. Keep doing this until all crystals are dissolved. The lye water with the nettle and rose water will now turn quite hot. Leave the jug at a safe place and let it cool down to 45 degrees. This can take quite a while. Measure the temperature in between so that you know when you can start heating the base oils.
Step 3: The scent
- Weigh the essential oil in a small glass. This recipe contains thyme oil, because thyme is very healing for your scalp. But you can also choose another oil that you like. Note: there are different oils that contain eugenol and this accelerates saponification.
Step 4: The ayurvedic herbs
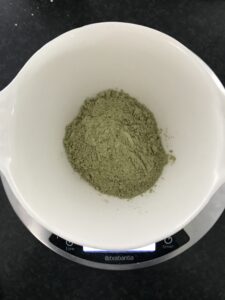
- Weigh the Neem powder into a bowl. Put this aside. You will need this later.
Step 5: Preparing the last things
- While your lye solution is cooling down, it is wise to prepare your mold on a blanket or a towel. Place a sheet of baking paper in a metal or glass cake tin. A silicone mold does not require a baking paper. Temperature again the lye solution, when it almost goes to 45 degrees you can start to heating the base oils.
Step 6: Heating the base oils
- Heat the pan with the base oils to 45 degrees. It may happen that your oils are already 45 degrees during heating, while the hard oils have not yet completely melted. In this case, it is wise to take your pan off the heat for a while to allow the hard oils to melt. if you keep heating until everything has melted, your oils will get way too hot. That is a waste of energy and takes extra time, but is also a waste of oils. If your mixture becomes too hot, it also makes less sense to use high (organic) quality oils.
- When the hard oils have also melted, temperature the oils again. If the lye solution and the oils are both 45 degrees, we can start.
Step 7: Making the soap
- Pour the lye with a thin stream in one gentle motion to the base oils. Immediately stir in the pan with a whisk.
- You will see that the saponification process starts almost immediately: the first gold-colored, clear base oils will slowly turn cloudy. The whole thing is also getting lighter in color.
- Keep stirring until the mixture thickens. This can take a while, because you have to keep stirring until you have reached custard or yogurt thickness.
- If the stirring with the whisk takes too long, you can use a blender. This accelerates the saponification! Turn the blender occasionally off to determine the thickness and stir with the blender as if it is a whisk, to determine the thickness of the whole mixture. This way you can mix the soap evenly and check whether it is going too fast. Repeat this a few times.
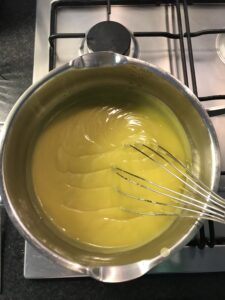
- Mix it all together until you can draw a visible trace over the soap in your pan: the whisk or mixer will leave some relief if you hold it above the soap batter and the surface is no longer a smooth mirror. You can test this by lifting a little soap from the pan with your whisk or spatula and, while you move the spatula, dropping it back into the soap batter. Now if it stays a little bit, a few seconds or so, then you’re good! When you have a nice batter it is time for the next step.
- Add the essential oil to the batter.
- Stir well, already during pouring or immediately afterwards, and until the soap batter is evenly colored again.
- If the essential oil is completely included in the batter, it may be thinner again, without relief. Stir further, with a whisk or hand blender, until you have a lumpy batter again with a visible trace. But be careful not to get the whole to thick!
Step 8: The Neem powder
You can add the Ayurvedic herbs into the soap mixture in two different ways:
- You can scoop a little bit of batter out of the pan and add it to the herbs and stir well. Then put this back in the pan and divide with the whisk or a hand blender (I did this with this first soap)
- Or you can mix 35 grams of olive oil from the base oils, and mix this with the powder. You can add this mixture to the soap batter.
Option: Swirling (two different colors)
If you want to swirl with this recipe, then now is the time!
- Weigh half of the soap batter into another pan. Add the neem powder mixture with the oil or a few tablespoons of soap batter to 1 pan and stir well until you have a lumpy batter with a visible trace.
- Then divide the colored soap batter containing the neem powder into 4 parts in the pan with soap batter without neem powder. This looks like a clover 4. When everything is back in the big pan, make an eight with your spatula once.
Then pour your soap batter into the mold. Scrape out the pan like when you bake a cake. When everything is in the mold, you can spread the soap evenly in your mold with a few short, controlled taps, or smooth it a bit with the spatula. Cover the soap mold with cardboard or a piece of baking paper and then wrap it nicely in the blanket or a few layers of towels. Put your soap away for about 24 hours.
(Now it is time to do the dishes with your gloves on! Everywhere there is fresh soap, there is also active lye. Make sure that your skin does not come in contact with it)
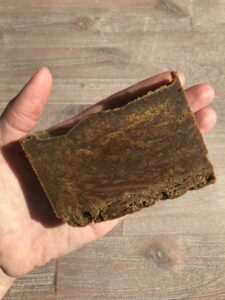
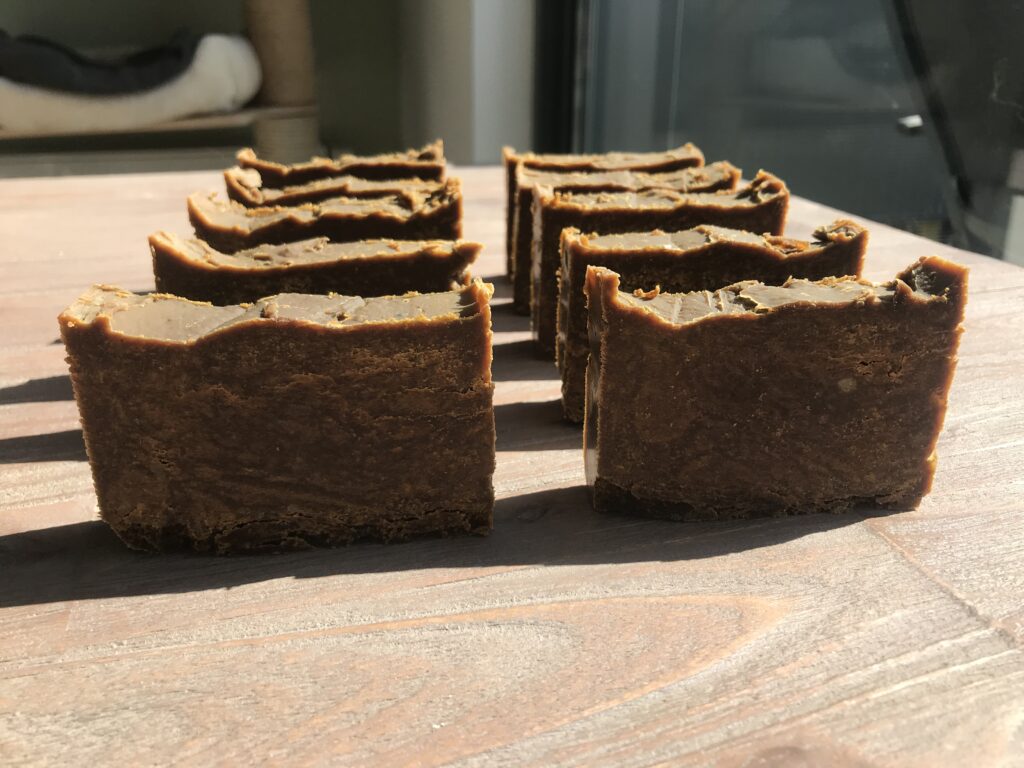
After about 20 to 32 hours, you can take the soap out of the mold and cut it. Cut the soap into pieces and then put it in a dry cool place for another 4 weeks to rest.
After 4 weeks, the soap was ready to use and I can honestly tell you that I had a great shower! The soap gives a delicious rich full foam, does not dry out my skin and is very nourishing. Due to all the rich ingredients, this soap is also very nice if you have an irritated scalp or troubled skin. Think, for example, of eczema, psoriasis or dandruff. You can use this soap for your body (in the shower), your hands or for your hair. If you wash your hair with this soap you will have to follow up with an acid rinse to close the cuticles. You can use apple cider vinegar / natural vinegar mixed with water or lemon juice mixed with water. The proportions are about 50 ml of acid to 500 ml of water. You need to rinse this acid rinse out of your hair with normal water. After that your hair is clean and nourished. You can read more about washing your hair with a natural soap my other blog.
Even though I found it at first very exciting to make my own soapbar. And even though I postponed it for a while, I can now say that I really like it! It is also a bit addictive… Because After making this soap, I immediately made another soap with oatmeal and mint!
The soap smells super nice and it is also a lot of fun to try out your own made product and see a result so soon (after cutting). I was able to cut about 10 pieces from this recipe, enough soap for the rest of the year.

Have you ever made your own natural soap? Are you as addicted to soap making now as I am? Or do you want to try it out and do you have questions? Let me know below!
Do you want to stay inspired and receive nice tips or triqs? Or do you just want to be immediately informed when a new blog is online? You can follow me on my Facebook page @natuurlijkehaarverzorging or follow me via my Instagram account: @rachel_naturalhaircare